
To start with I am going to describe what we are going to do, follow that with step by step instructions/screenshots and finally give a TLDR at the end. I will include any files I think you will need, but realistically this part is really easy.
What We Are Doing
In this post, we are going to do the following:
- Create a client and server project in Unity
- Download and install DarkRift 2 and get it installed and configured
- Write a script to connect to the server
- Testing to make sure nothing is broken
I am going to make a few assumptions here going forward.
- You have a basic understanding of C#
- You have some familiarity with Unity
- You have Unity downloaded and the Unity Hub installed
Step 1 – Setup our project
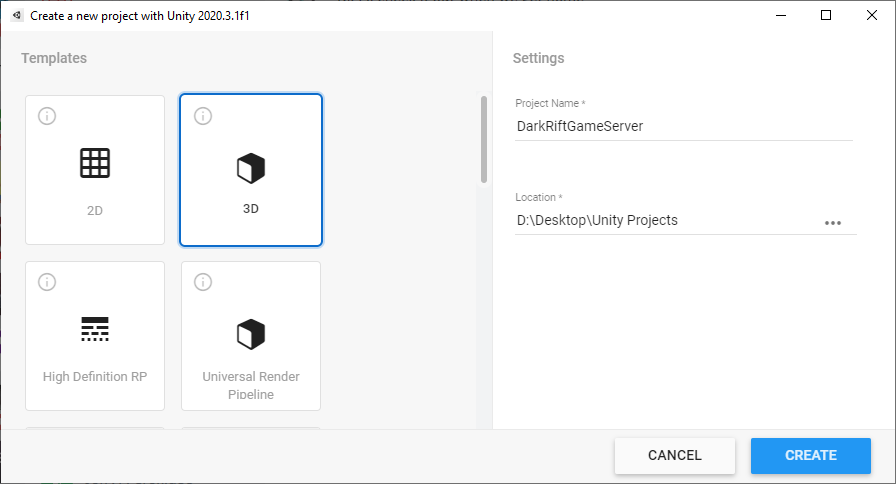
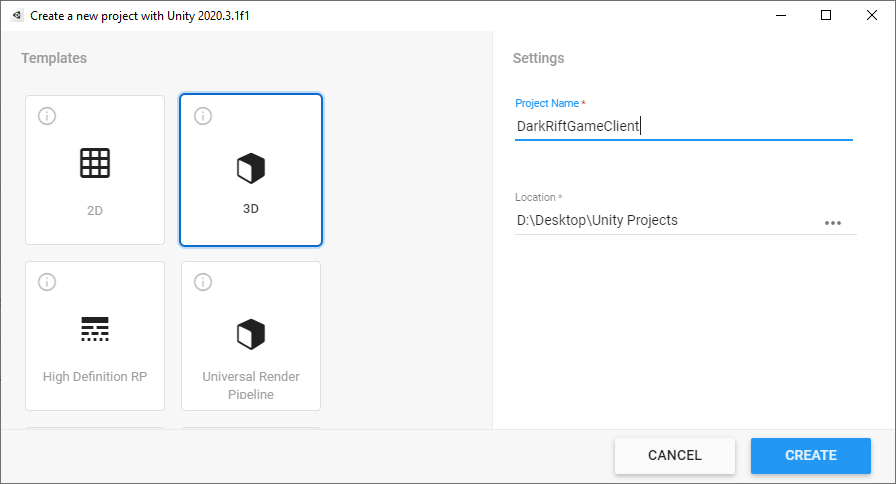
Open up Unity Hub and create a new 3D project called something like “MyMMOClient”. Repeat this process for “MyMMOServer”. You can of course call these whatever you wish, but I have found sticking to the convention of adding Client and Server to the end helps keep things organized.
Great, now you should have two identical empty projects. I have two monitors which is very useful for this type of development but if you only have the one that’s fine too. Be careful that you know what project you are editing. I have caused myself a lot of headache by accidently writing code in the wrong file for the wrong project when working with two side by side.
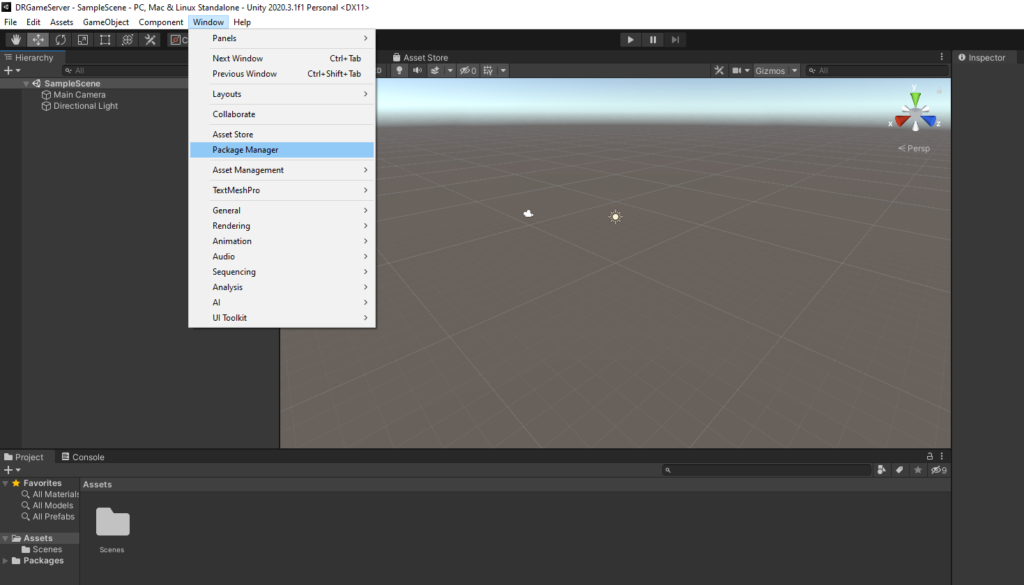
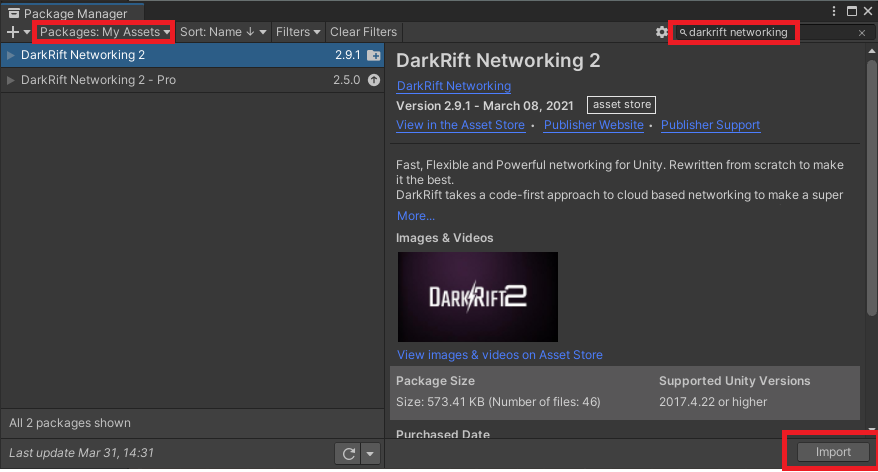
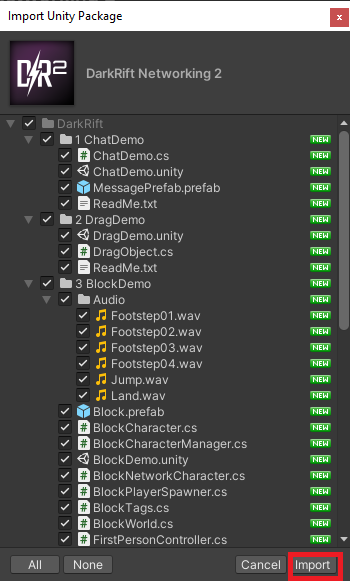
Head over to The Asset Store and grab yourself a copy of DarkRift 2 Free (or pro, I am sure the dev would appreciate that). In each of your projects, open the package manager as shown and download/import them.
Next, we are gonna want to make some folders to help keep us organized. In the Client project create the following folder and files (folders are bold):
- Scripts
- ConnectionManager.cs
- NetworkMessageManager.cs
- Shared
- NetworkMessages.cs
- Prefabs
Great. Now we need a game object for our ConnectionManager to live on, reset it’s transform, and give it ConnectionManager.cs as a component. While we are at it, rename the default scene to something like Login or create a new scene and do the same.
Lastly, we need to add a UnityClient component. Add Component -> Client.
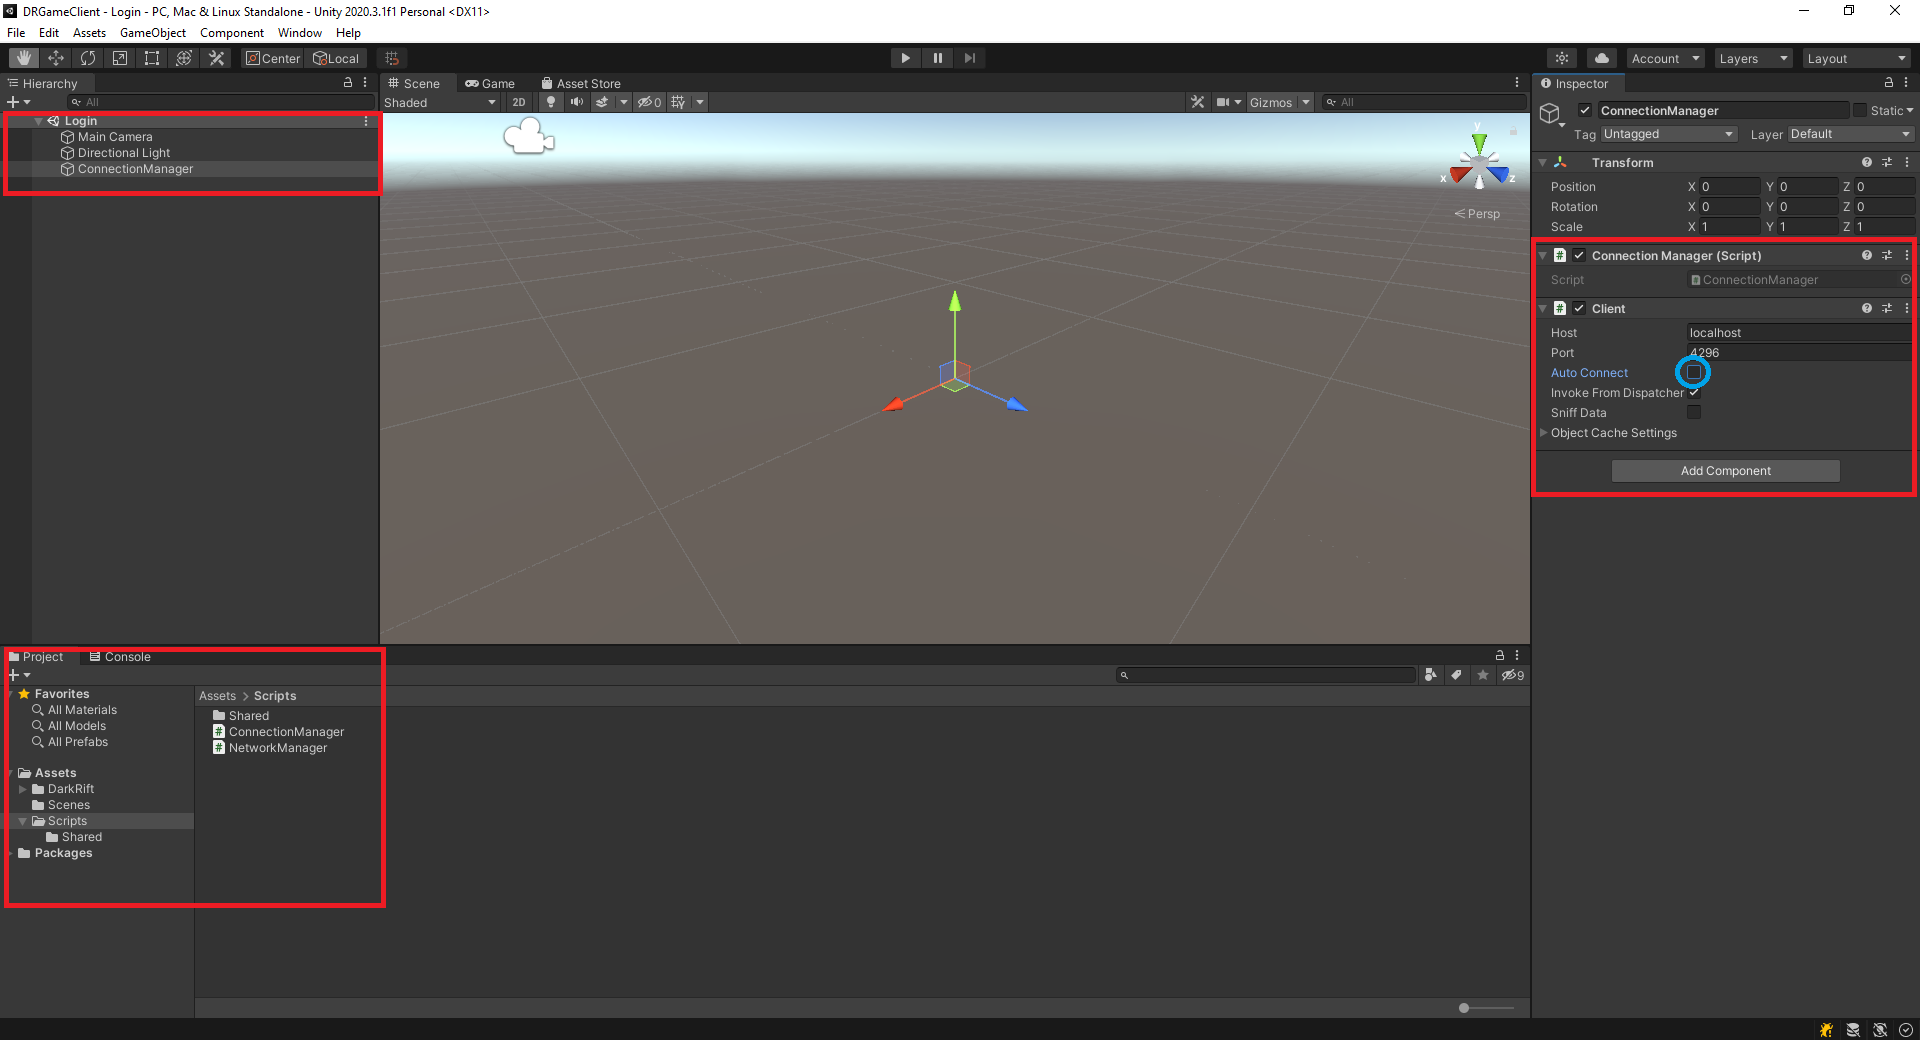
Open ConnectionManager.cs and add the following
using System;
using System.Net;
using DarkRift;
using DarkRift.Client.Unity;
using UnityEngine;

namespace DarkRiftRPG
{
    public class ConnectionManager : MonoBehaviour
    {
        public static ConnectionManager Instance;
        public UnityClient Client { get; private set; }
        void Awake()
        {
            if (Instance != null)
            {
                Destroy(gameObject);
                return;
            }

            Instance = this;
            DontDestroyOnLoad(this);
        }
        void Start()
        {
            Client = GetComponent<UnityClient>();
            Client.ConnectInBackground(IPAddress.Loopback, Client.Port, false, ConnectCallback);
        }
        private void ConnectCallback(Exception e)
        {
            if (Client.ConnectionState == ConnectionState.Connected)
            {
                Debug.Log("Connected to server!");
            }
            else
            {
                Debug.LogError($"Unable to connect to server. Reason: {e.Message} ");
            }
        }
    }
}
Alright, so what the heck is going on here?
We should remember good coding hygiene and slap this in a namespace. I chose the name DarkRiftRPG but you do you. For those who don’t know, a namespace lets you wrap your code to avoid conflicts with other libraries.
All the *using X* statements at the top are referring to namespaces (which can be nested like with using System.Collections.Generic). Anyways, for small projects it probably doesn’t matter but it is good practice so we will do it.
With that out of the way lets break down what is happening:
First we are including all the required namespaces – you have done this many times. using DarkRift.Client.Unity; and using DarkRift; are needed to be able to work with the UnityClient and connect to the server. You can read more about them HERE
Next inside our ConnectionManager we create a static reference so we can call this class from other scripts without needing an instance of ConnectionManager.
Inside Awake we implement a basic version of the Singleton pattern which will ensure there will only ever be one ConnectionManager in our scene. The code in Awake can be summed up (in English) as:
“Does an instance of this class already exist? If so, I don’t need to exist. Oh, it doesn’t already exist? Great, I’m it! Also, please don’t blow me up when you change scenes so I can exist there too”
In Start we grab a reference to our Client script and use the local loopback IP (localhost effectively) to connect to the server. You can approach the Client.ConnectInBackground method in several ways, this was just what I decided to use. For now, the IP will either be 127.0.0.1, LocalHost, or IPAddress.Loopback depending on how you set things up. Later on, we will throw the server up on a VM and point the client to that, but for now everything is being done locally.
Finally we have ConnectCallback which will get called once we either succeed or fail to connect. If we succeed (the ConnectionState reads as connected) great. If not, something went wrong and we want to know what. If you ran the code right now, you would see something like:
Connection failed to ::1 on port 4296.
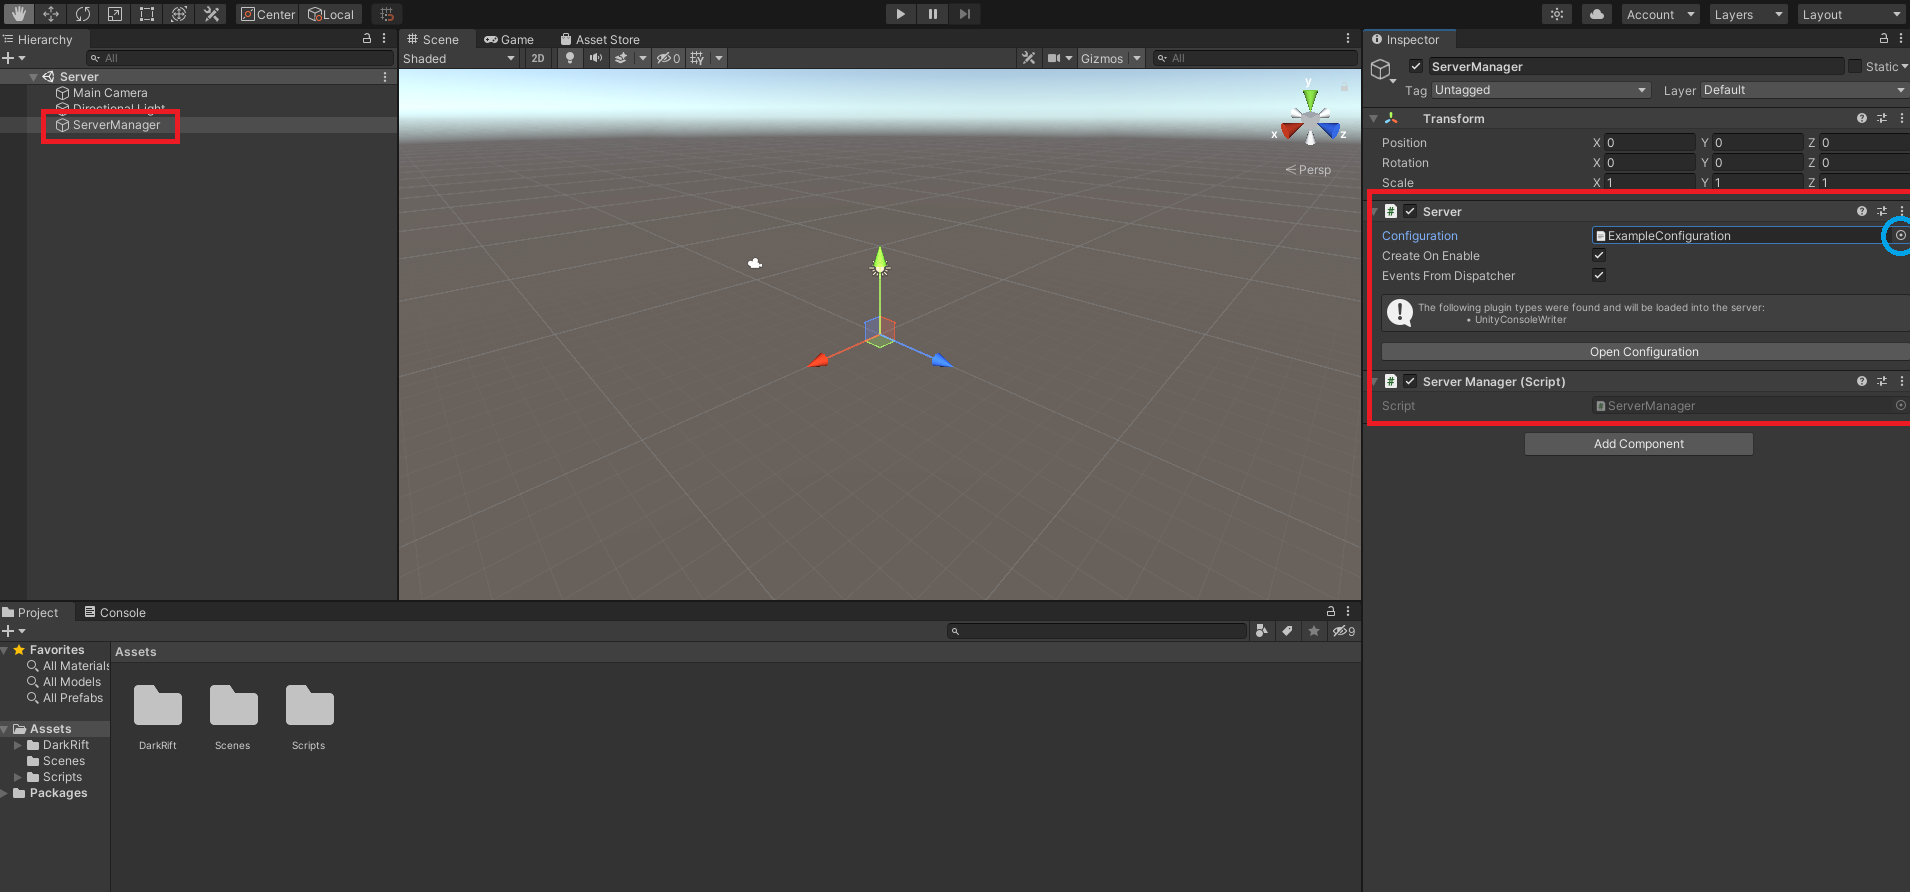
Unable to connect to server.Which makes perfect sense since we have not setup the server yet. Lets do that next. In your Server project, rename your example scene to something like Server. Create an empty game object called Server Manager and add the Server script to it (this is DarkRift). Then in the configuration field click the circle and select ExampleConfiguration from the list. It needs to be there, but we don’t need to do anything else with it.
Create a script called ServerManager and a matching GameObject to go with it.
Open up your ServerManager.cs and add the following:
using System.Collections.Generic;
using DarkRift;
using DarkRift.Server;
using DarkRift.Server.Unity;
using UnityEngine;

namespace DarkRiftRPG
{
    public class ServerManager : MonoBehaviour
    {
        public static ServerManager Instance;

        private XmlUnityServer xmlServer;
        private DarkRiftServer server;
        void Awake()
        {
            if (Instance != null)
            {
                Destroy(gameObject);
                return;
            }
            Instance = this;
            DontDestroyOnLoad(this);
        }
        void Start()
        {
            xmlServer = GetComponent<XmlUnityServer>();
            server = xmlServer.Server;
            server.ClientManager.ClientConnected += OnClientConnected;
            server.ClientManager.ClientDisconnected += OnClientDisconnected;
        }

        void OnDestroy()
        {
            server.ClientManager.ClientConnected -= OnClientConnected;
            server.ClientManager.ClientDisconnected -= OnClientDisconnected;
        }

        private void OnClientDisconnected(object sender, ClientDisconnectedEventArgs e)
        {
            e.Client.MessageReceived -= OnMessage;
        }

        private void OnClientConnected(object sender, ClientConnectedEventArgs e)
        {
            e.Client.MessageReceived += OnMessage;
        }

        private void OnMessage(object sender, MessageReceivedEventArgs e)
        {
            Debug.Log("Client connected");
        }
    }
}
I promise it’s not as bad as it looks. We include our using statements and our namespace. We need DarkRift because.. DarkRift. DarkRift.Server contains things we need to deal with clients connecting and disconnecting and a bunch of other things DarkRift will handle for you behind the scenes to keep track of connected player. DarkRift.Server.Unity contains scripts in the asset store package and can be further explored if you have the source code from the Pro version of DarkRift.
Once again we make a static Instance to reference elsewhere and in Awake we again use the Singleton pattern. In start we assign some references DR needs as well as assign some event handlers. server.ClientManager will take care of the low level connections being stored for each client and when a client connects or disconnects OnClientConnected or OnClientDisconnected are events that will be called when a client connects or disconnects.
In OnDestroy we do cleanup for said event handlers. This article can explain the reasons better then I can but the short answer is that it is good practice and can prevent issues later on.
OnClientConnected is used to basically say “Hey, when a client connects, fire OnMessage to deal with the connection.” OnClientDisconnected is something we will use to remove players later on.
Alright, lets test. Hit play on the server and wait for it to start. Open your client project and hit play. If all goes well you should see
DefaultNetworkListener Server mounted, listening on port 4296.
[Info] ClientManager New client [0] connected [127.0.0.1:53151|127.0.0.1:63090].
Connected to 127.0.0.1 on port 4296.
Connected to server!on the server and client respectively. Congratulations, we now have a working server and client! Obviously this is just the very bare bones we need but everything is in place for us to get ready to start sending messages back and forth.
TLDR: Create two projects (one for the server one for the client), acquire and install/import DarkRift. Create a basic folder structure in both. In the client project, create a ConnectionManager script and GameObject for it to live on and wire it up. In the server project, create a ServerManager script and do the same.
In the next article we will setup a dictionary to keep track of connected players for our own uses, start writing out NetworkMessages.cs so the client and server can talk to each other, store new connections in a custom class, and spawn players. See you there!