Before we get into spawning and movement, we need a tank for the player to spawn and move in. I thought about a few ways to do this – the easiest would be to just have an empty game object with some basic cubes to represent the tank. That sounds kind of lame though. You are free to create your tank however you want as long as you have a body, and turret that is separate from the body. However, for those who want to make something a little more cool, follow along as I walk you through creating a simple low poly tank in Blender.
ASIDE: “Blender???” I hear you say. Yes, Blender. It’s free, the learning curve (in my experience) isn’t super steep (for basic things), since 2.8 has been a lot easier to use, and perhaps most importantly learning the basics of Blender will allow you to prototype things you previously could not, and allow you to rely on pre-built assets less. If you would like to skip this section, I have included the final .fbx file for the tank I am creating in this post so you can follow along going forward if you either don’t care about making your own or if you already have your own tank.
ASIDE: There may be future .5 style lectures, they will typically focus on other things that are related to the project but not focused on netcode specifically.
Ok so, I am going to show you how to make a low poly tank in blender, import it into Unity, and set it up as a prefab.
First, here is a crash course in Blender. If after following along you want to learn more, I highly suggest Grant Abbits content, the CG Fast Track sword tutorial, and everyone’s favorite donut (Seriously, that donut tutorial is gold)
Course, Crash.
Head over to the official blender website and download yourself a copy. Install it. Easy. Now open it up (I wish other things loaded this fast *cough* Unity *cough*).
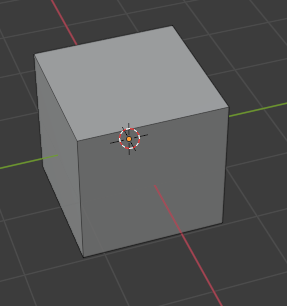
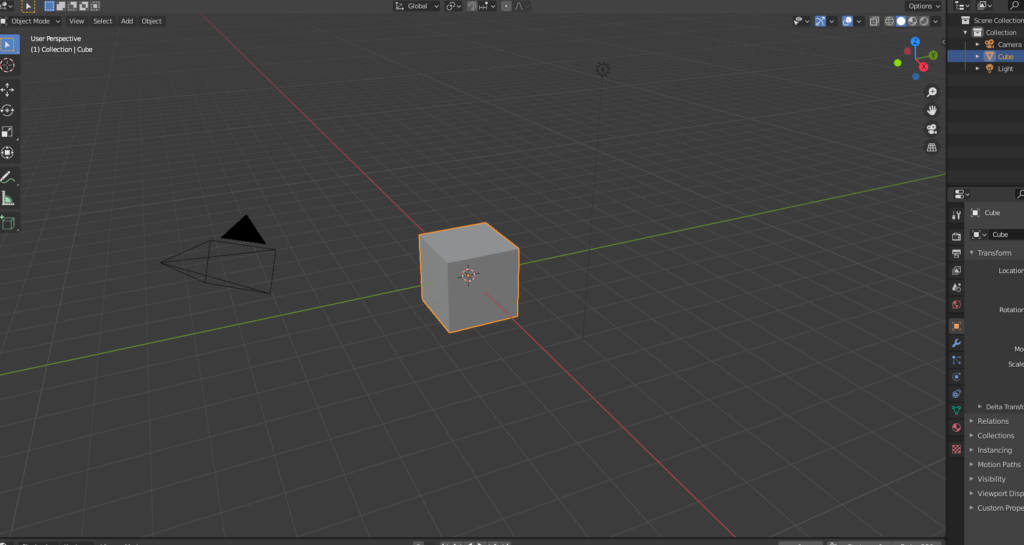
When you open it, you will be greeted with the following scene:
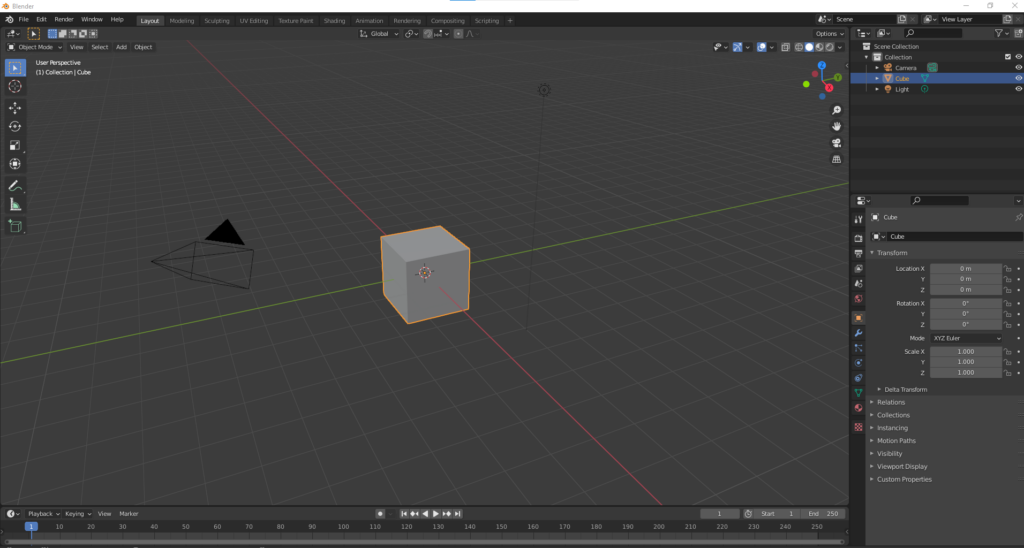
This might seem overwhelming, but you can ignore most of what you see for the time being. Here are the important bits:
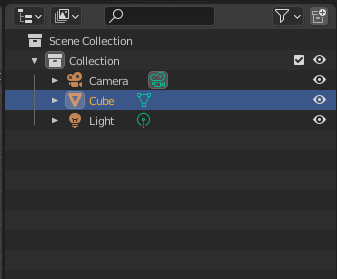
Blender has several modes you can switch between. The two we will be using mostly are Object and Edit. You can think of these like the scene view vs clicking into a prefab to make edits. In Object Mode you can select objects, add new objects, etc.
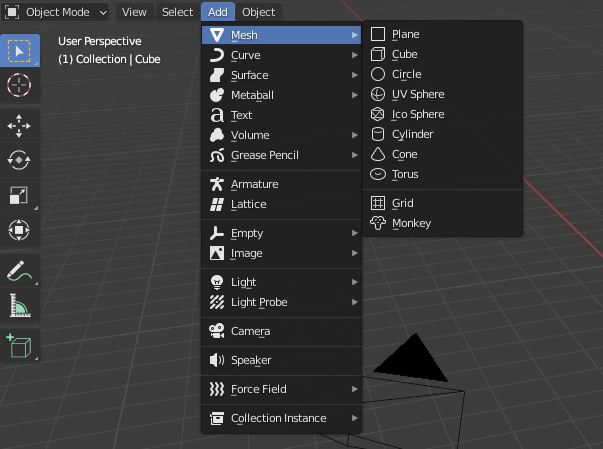
You can add new objects to your scene in two main ways – either through the “Add” menu you see:
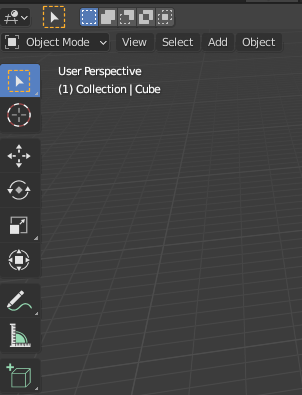
I mentioned two modes, object and edit. You can enter edit mode by selecting in object and hitting the tab key – when you do the bar on the left should change and it will look like:
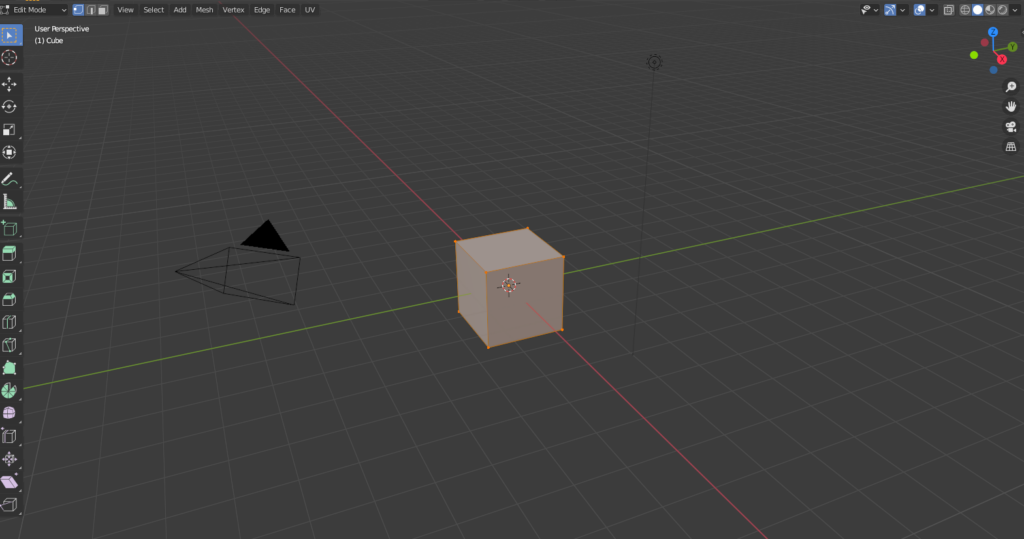

I am going to assume you are in edit mode with the cube highlighted. Lets cover some basics:

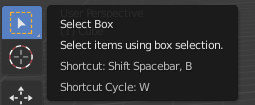
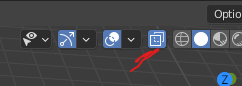
You can select multiple vertices/edges/faces by shift clicking like in most applications. Which you use depends on what you want to do, but they are how you can poke, prod, squish, and move parts of your object. Mess up? Control Z. You will probably mess up. The shortcuts for these three selection methods are 1, 2, and 3 on your keyboard. If you don’t see the translation arrows, click the first of:

Those will give you widgets for translation, rotation, scale, and.. a super gizmo that does it all. This is pretty close to what you see in Unity:

Ok, I am going to rocket through a few more commands and other you should know, and then we can start making the tank:
- A – Select All:
- Alt + A – Deselect all
- G – Grab (move your mouse around to move the object in the scene). Left click to place.
- S – Scale (move your move up and down to scale either an entire object or a selection):
- R – Rotate (move your mouse left/right to rotate):
You might have noticed we are on a grid, similar to the one in any Unity scene. Lets say you want to move the object on the green (y) axis. You *could* click the icon and drag it by hand – or you could hit G + Y (Grab on the Y axis):
Moving the Camera:
- Middle mouse lets you rotate around your scene.
- Shift + Middle Mouse lets you pan.
- Scroll zooms.
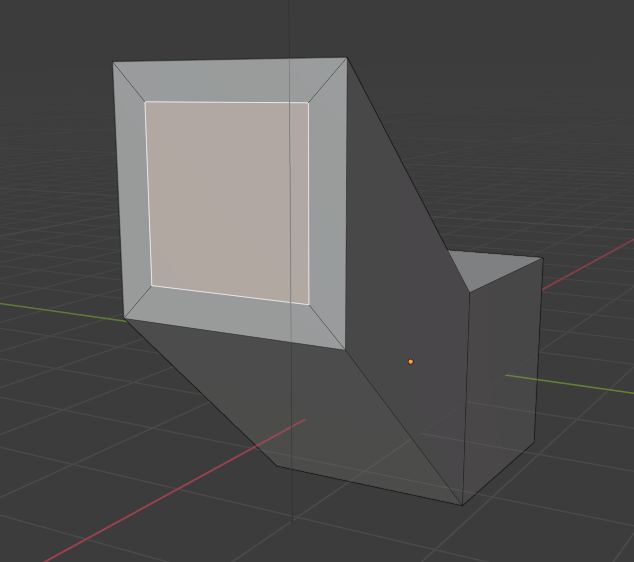
The last two things I need to cover are extruding and insetting. If you thought the shortcut for those were E and I, you could be right. Extruding extends parts of your object, etc. Insetting lets you adjust the size of the area to be extruded:
Insetting looks like this:
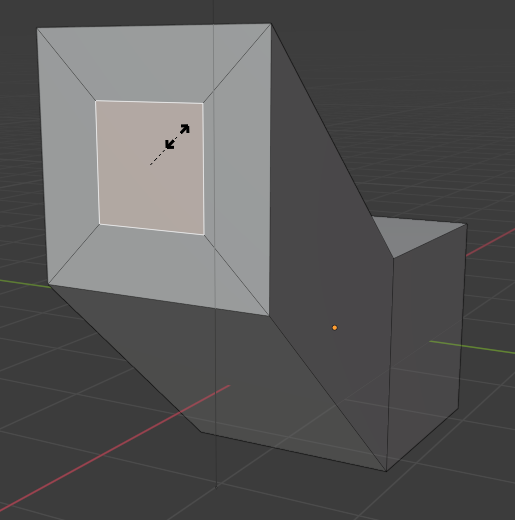
Finally, I extrude again from that new face:
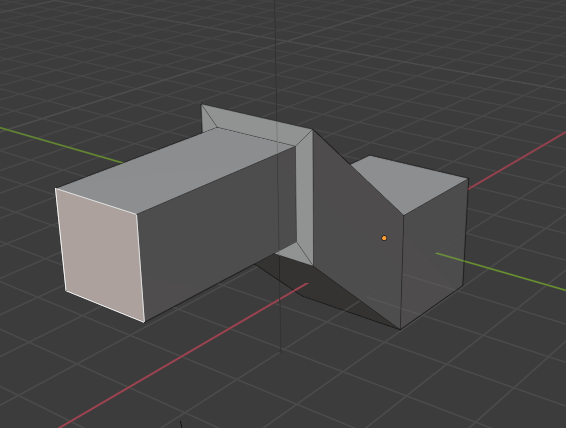
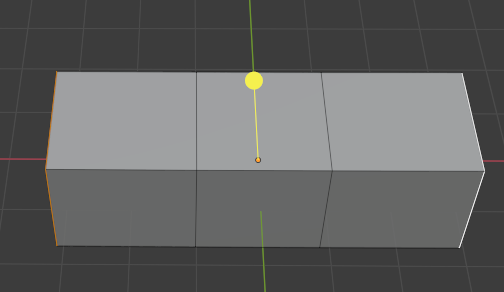
I am sure you can see how powerful combining grab, scale, rotate, axis locking, extruding, and insetting can be. This is a great way to make some super simple prototype art that gets the point across. One other thing you should know about extruding – if I select opposite sides of the cube and hit E, this is what happens:
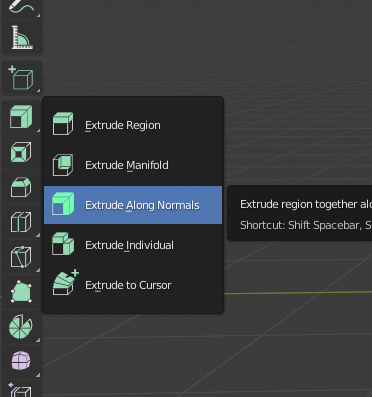
and select “Extrude Along Normals” – then click the little yellow “handle” and when you drag it you will get:
Here is something I made quickly, using only what I have shown and starting with a cube:
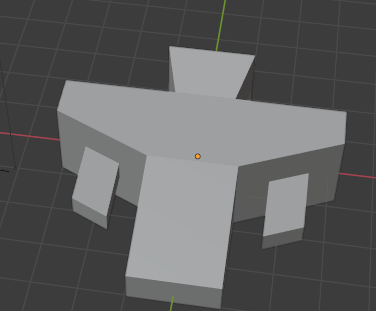
Ok. Now that you are an expert 3D modeler, lets make a tank.
Making A Tank
I am going to walk you through how I made the tank with as much detail as possible. Don’t worry if yours is a little different – remember as long as you have a body and a turret it should work. It is very likely at some point you will accident hit a key toggling some setting that changes things and you won’t know what you did. Don’t sweat it. Control Z. Worse case, start over. It’s not the end of the world.
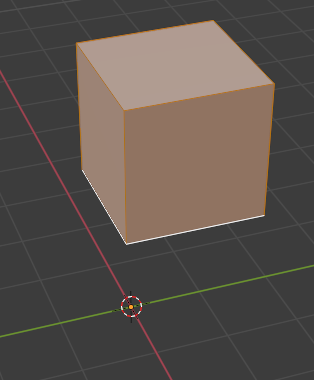
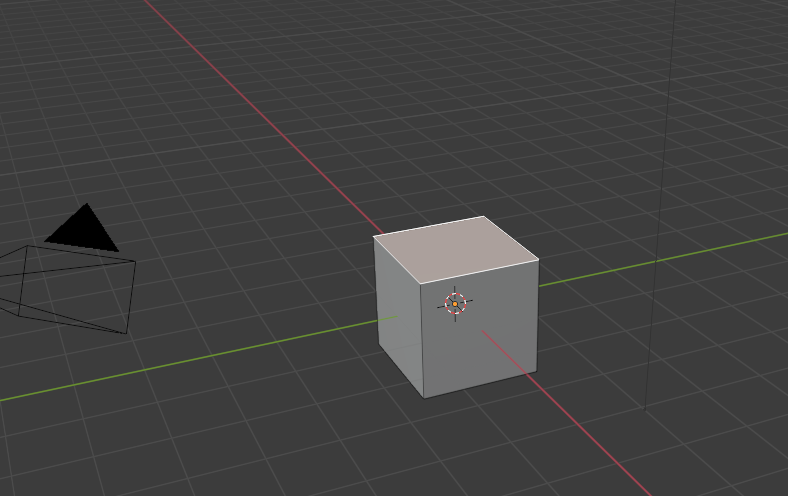
- Start with a new scene and the basic cube. There is a joke in the Blender community:
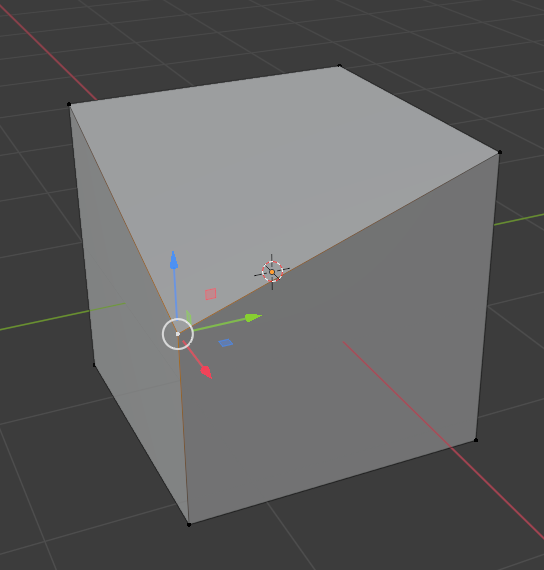
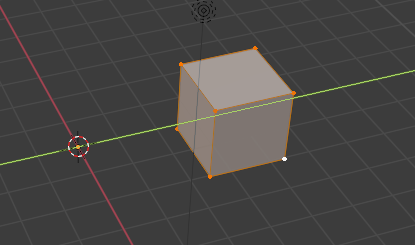
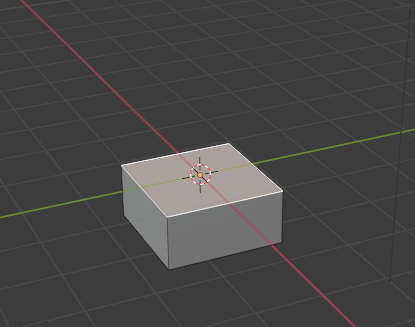
Select the cube by clicking on it, then hit tab to enter edit more. Select the top face (hit 3 on your keyboard or click the icon):
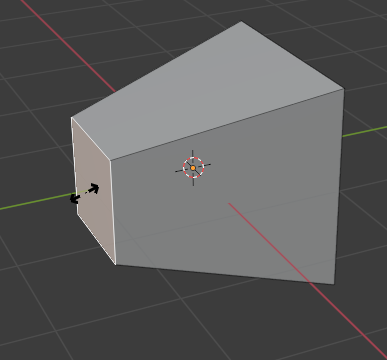
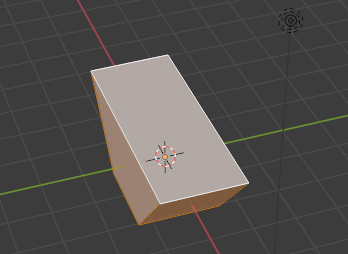
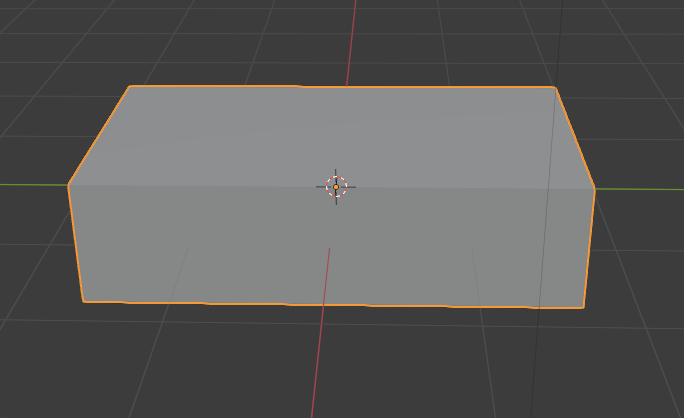
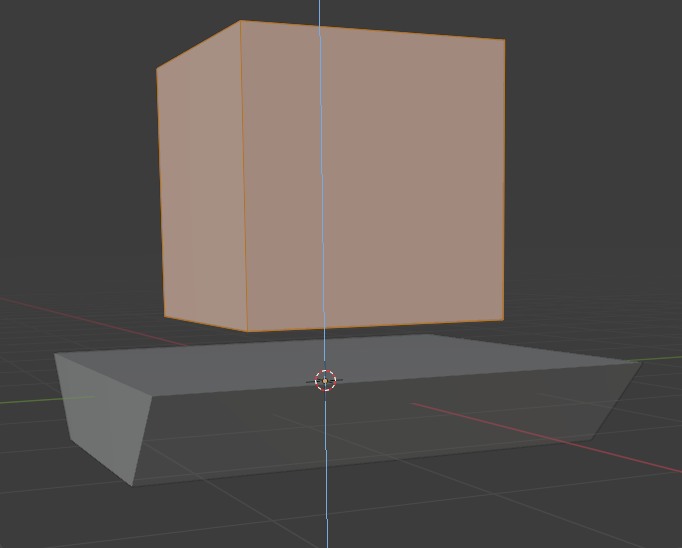
Hitting G and then Z will allow you to flatten your box some (since tanks are not cubes):
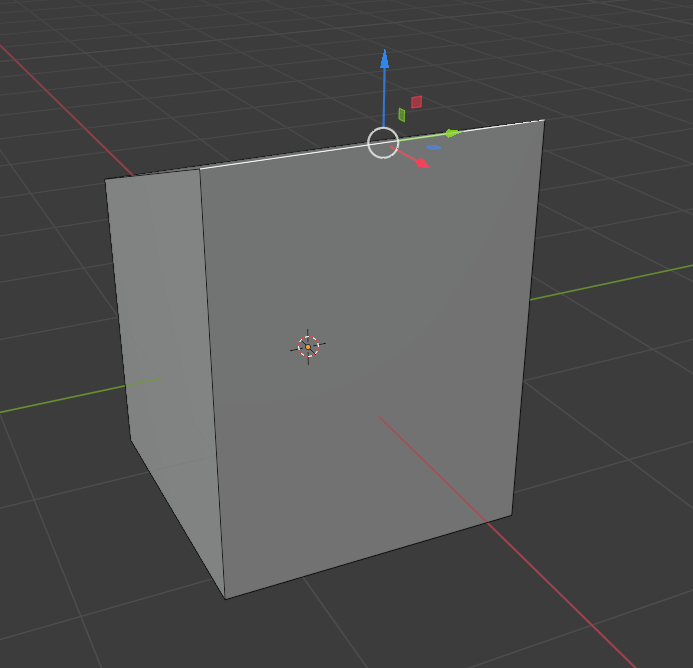
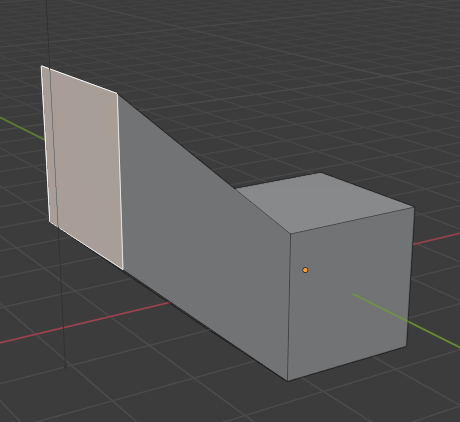
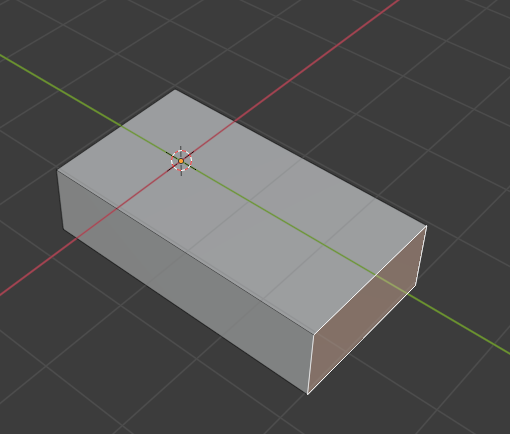
Hit middle mouse to rotate around your object. Select one of the sides along the green axis (y) and hit G + Y to extend that side:
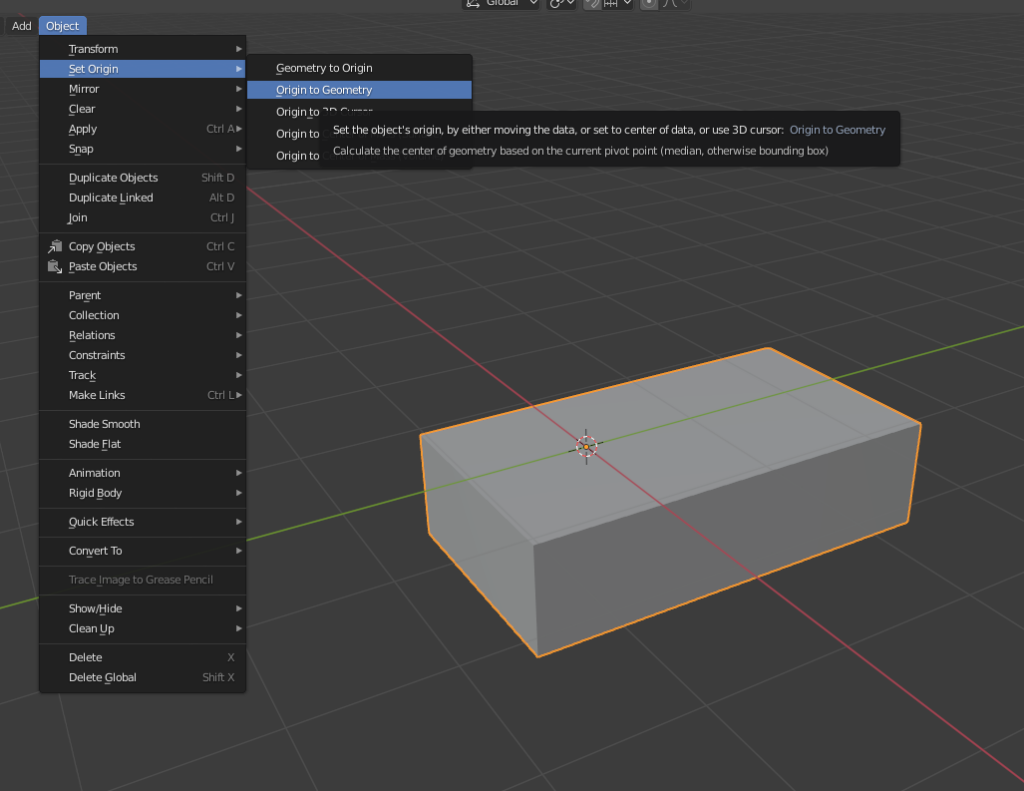
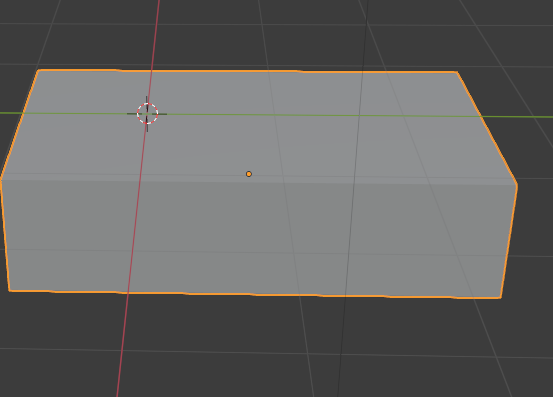
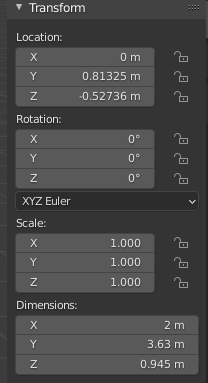
You might have also notice that crosshair looking thingy. That can be adjusted by Shift + Right Click. That is the 3D cursor. New objects you add you your scene will be created at that point. To reset it to the center of your scene:
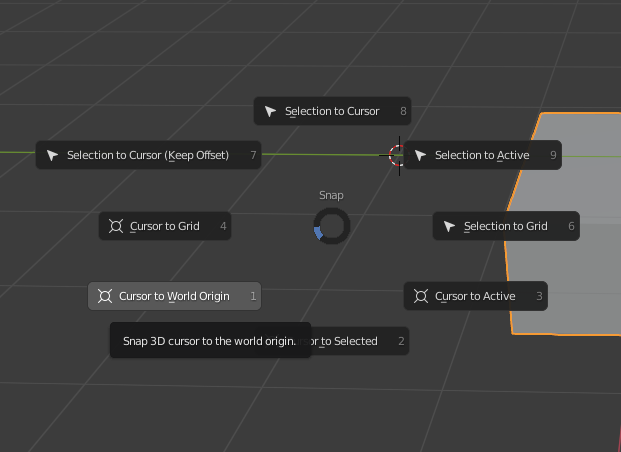
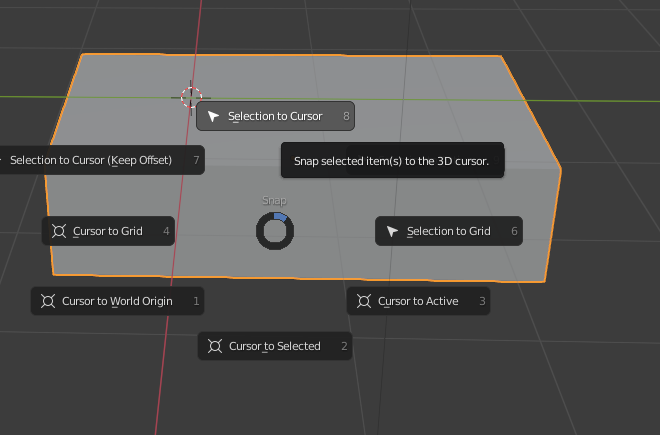
Hit Shift + S, this will bring up:
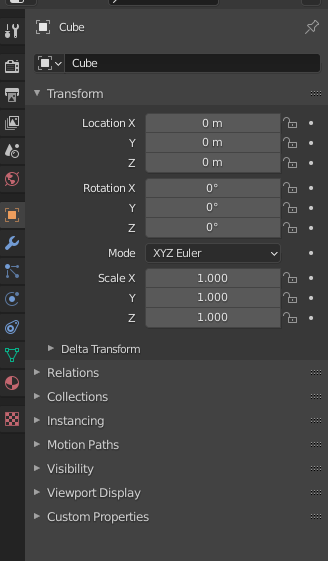
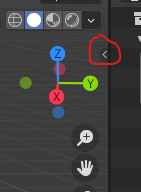
Another way is to hit “N” or click on the little arrow:
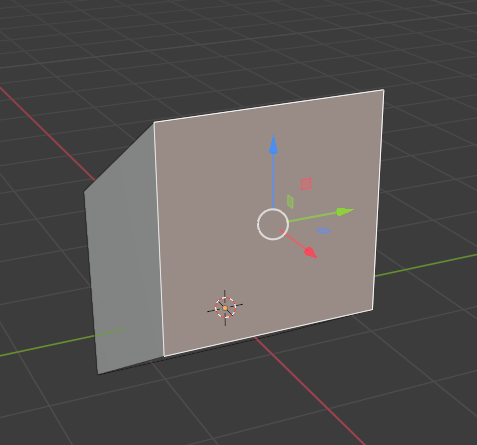
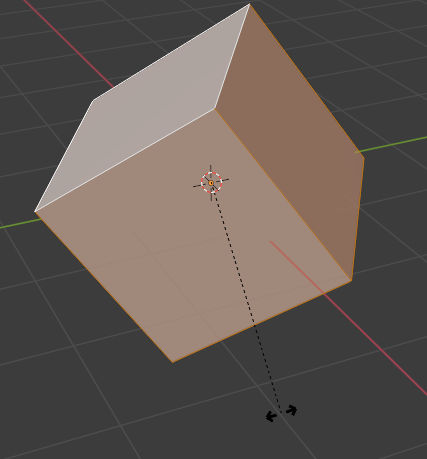
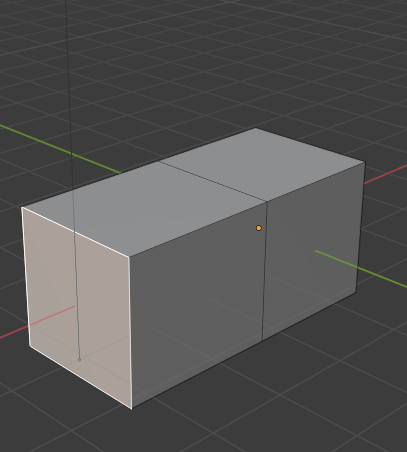
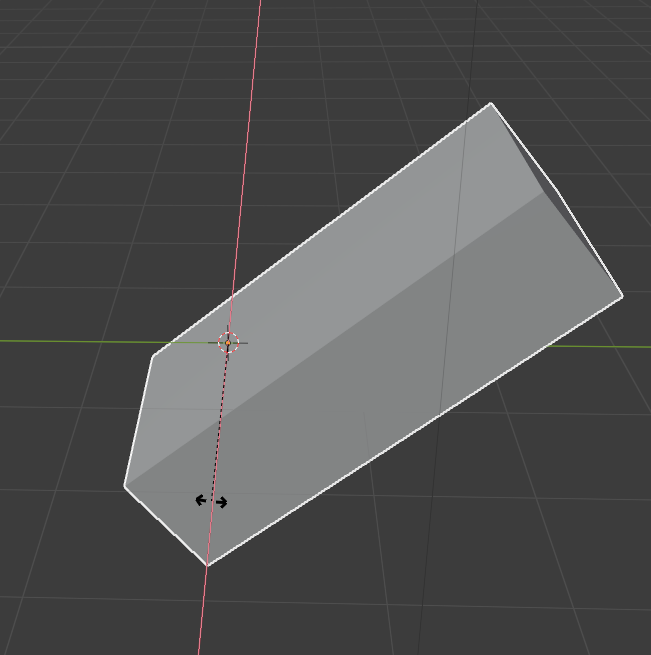
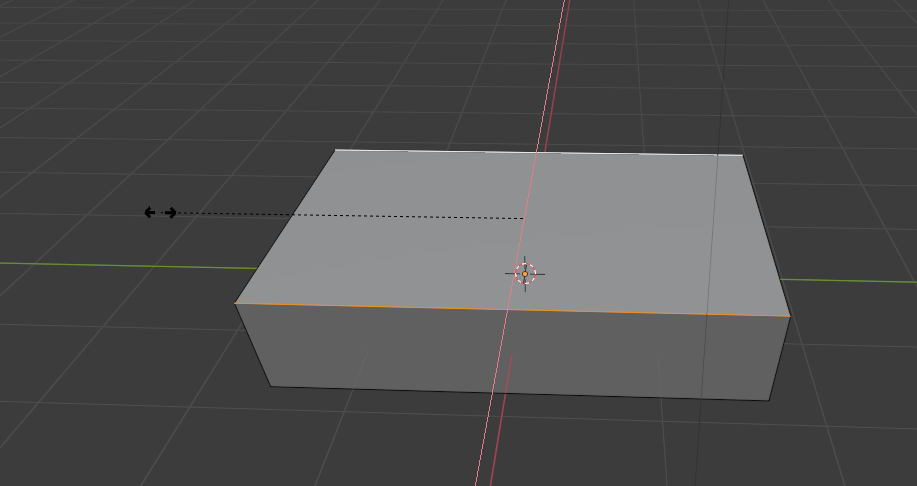
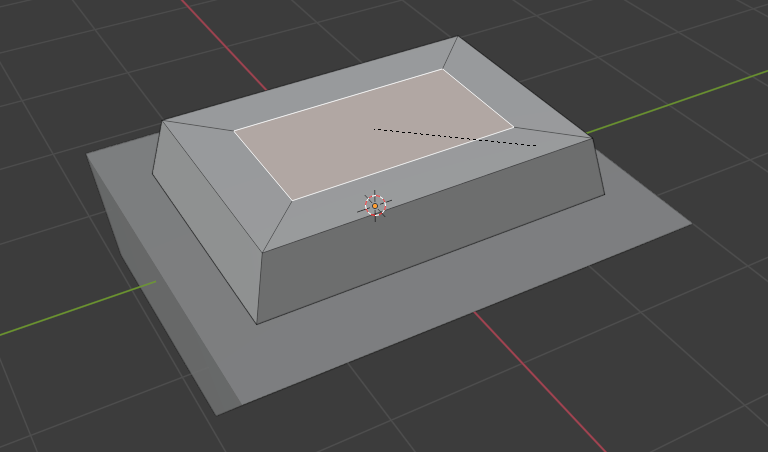
Ok, back to edit mode. I want to go with a low poly sci-fi style tank, so to make the shape a little more.. tank like, I am going to hit 2 to select edge mode, click one of the top edges, and then shift click the other:
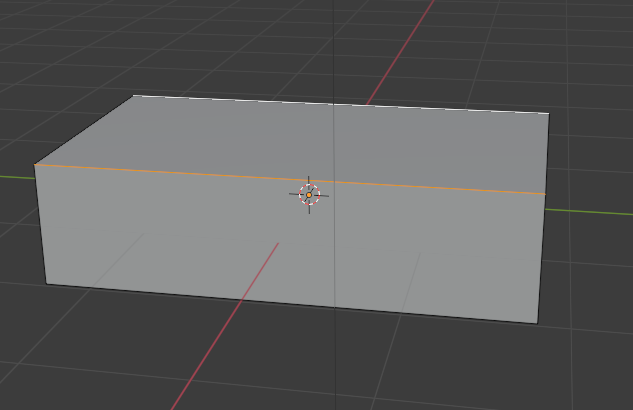
Next, Hit S for scale followed by X:
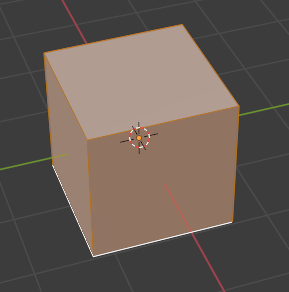
Then G (grab) + Z:
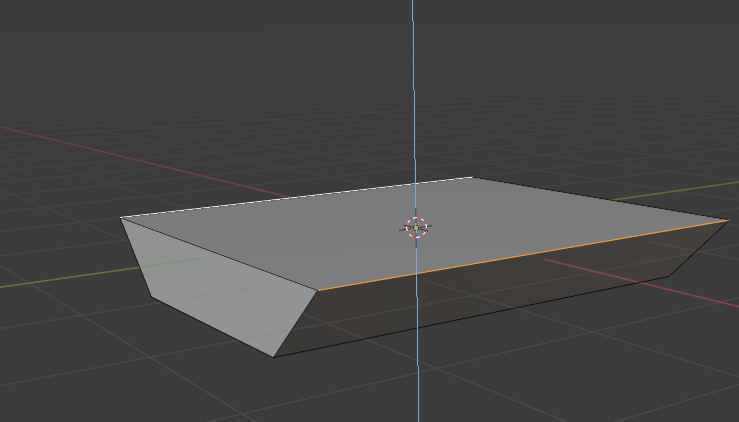
You could also have hit 3 (face select) and selected the top, which would have done the same thing.
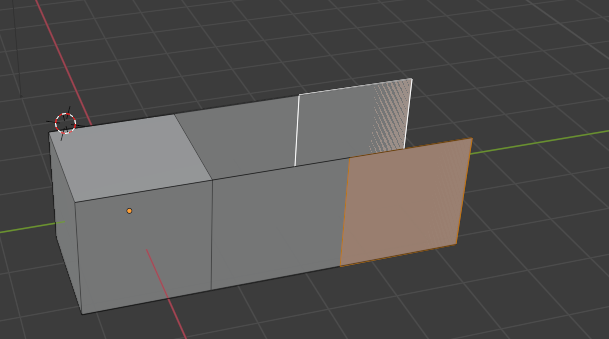
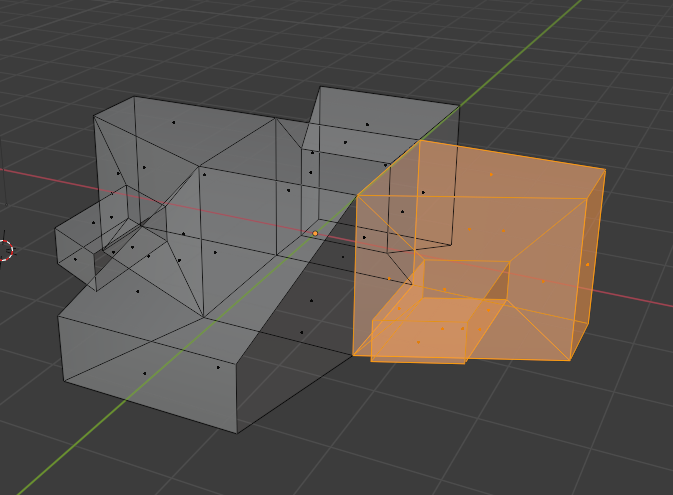
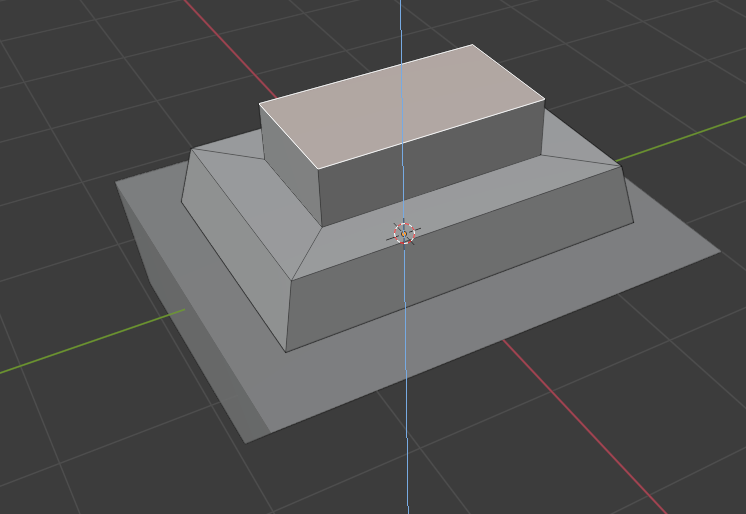
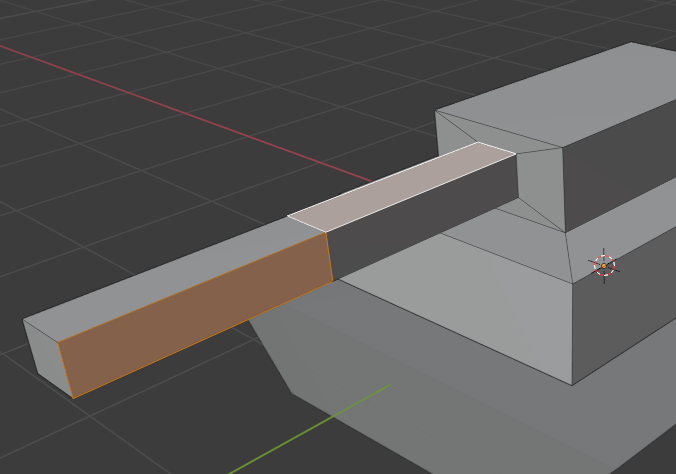
Next, since we want the tank to have seperate parts, go back to object mode with tab, and hit Shift + A to bring up the Add menu and then select mesh->cube:
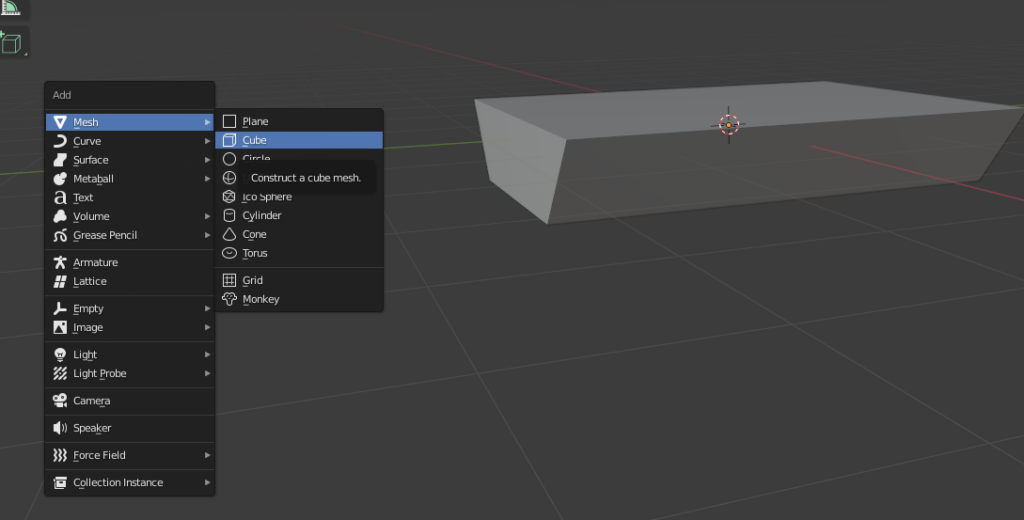
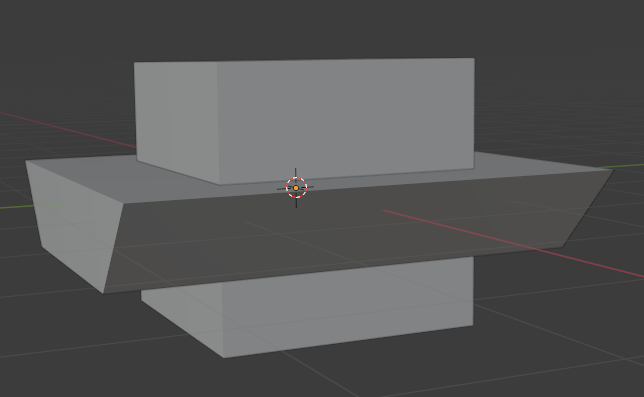
This is going to be the upper body of our tank, and our turret will be attached. If you wanted, you could make modular tanks by creating several version of each part and then combining them in Unity (swapping barrels for example) – I am going to keep it simple though. Select the new cube and go back to edit mode – hit G + Z to move it up a little:

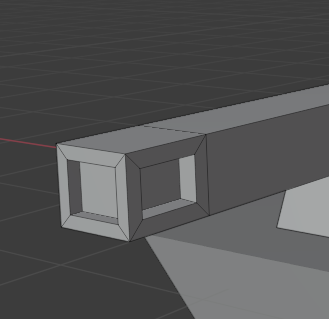
It doesn’t have to touch, and infact will be exported as a separate object so don’t worry about making it perfect. Next we will use the inset and extrude features to make it more… turret like:
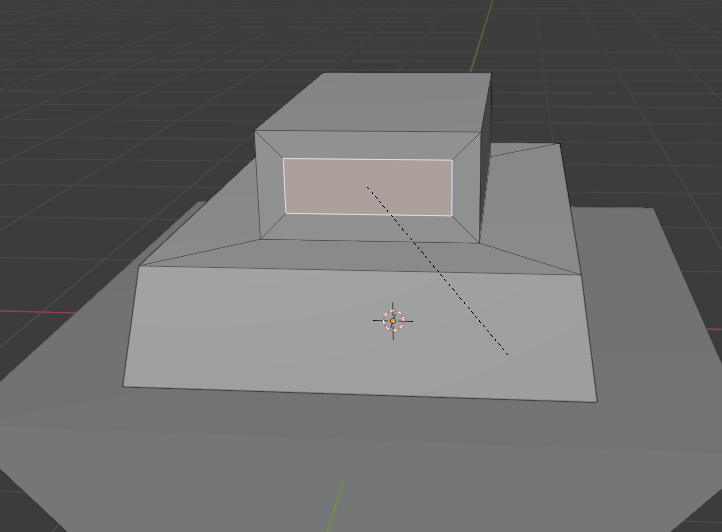
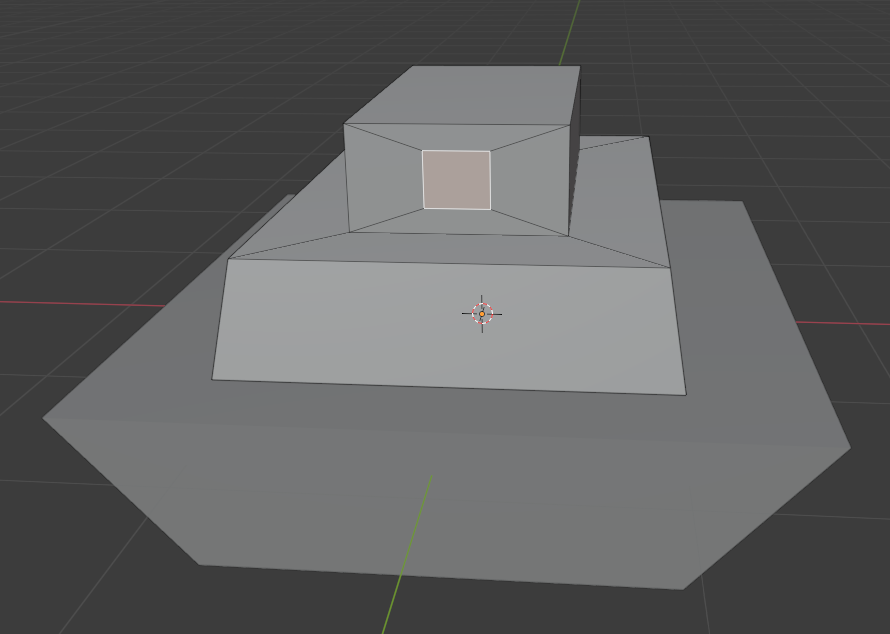
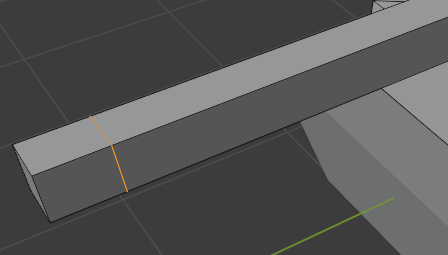
Now you can work on the new part without worrying about the other part. However, that loop was right in the middle. When you create a loop, click once, and then you can slide it on your object:
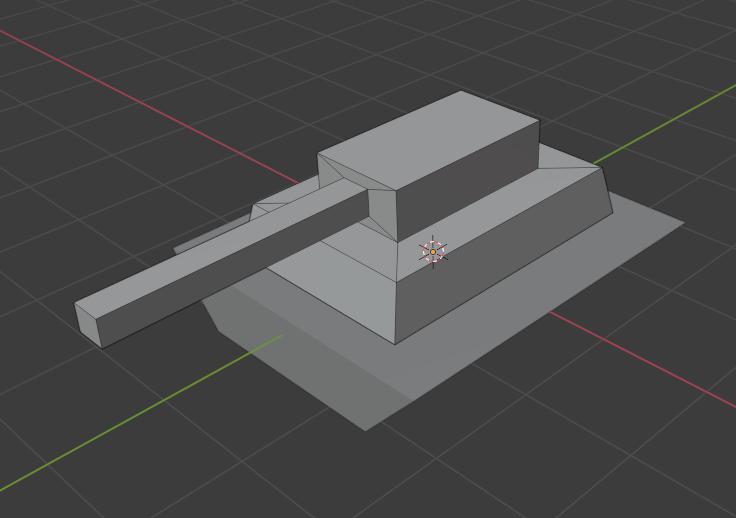
Now, you can do something like:
Exporting to Unity
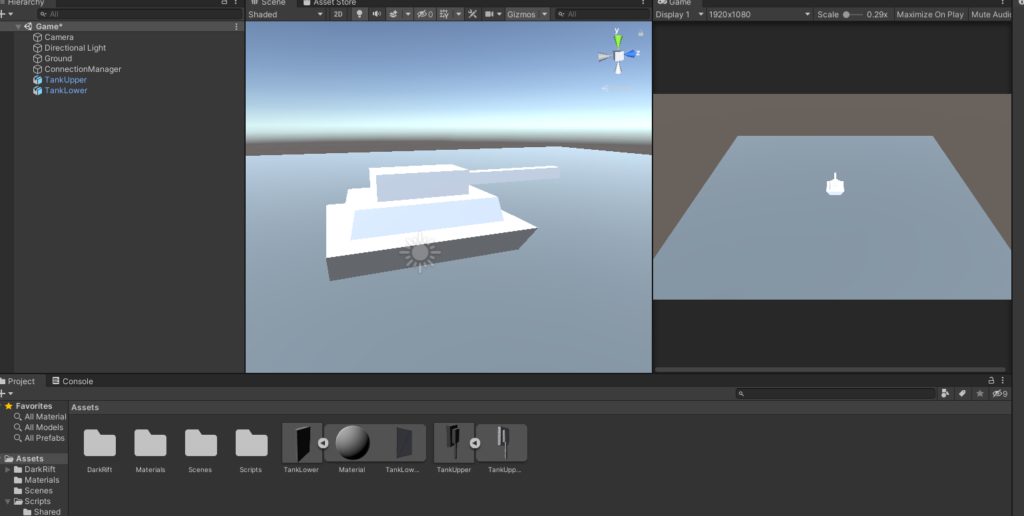
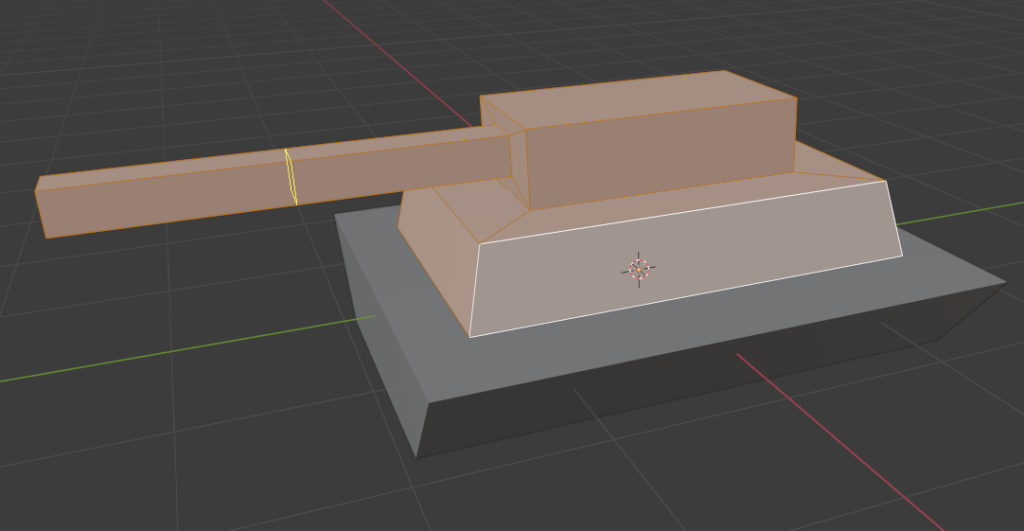
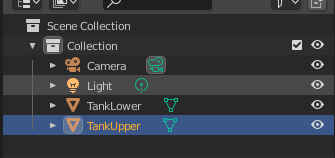
Great, we have a tank. Now we need to get it exported out of Blender and into our project. First, lets give our objects names – you can double click the “cubes” in the collection to rename:
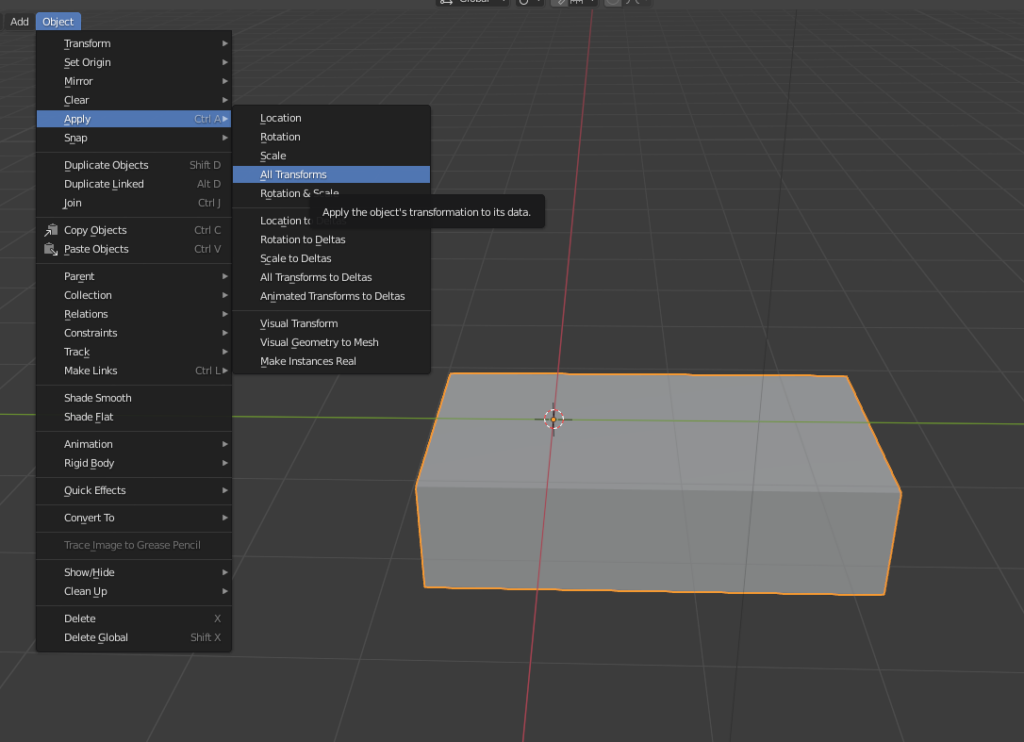
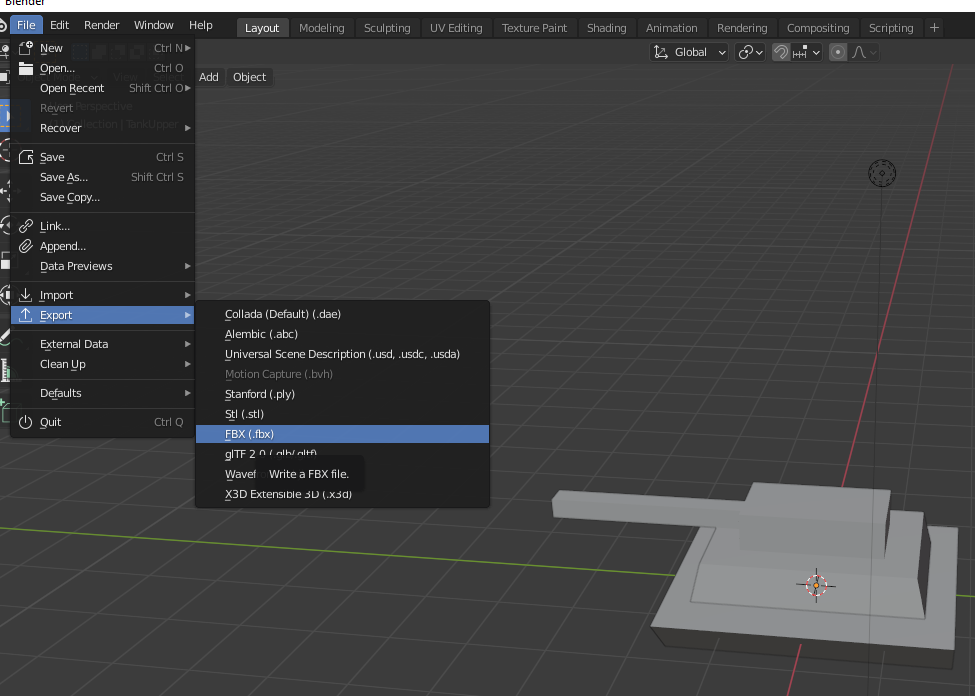
To export, you goto file -> export -> fbx:
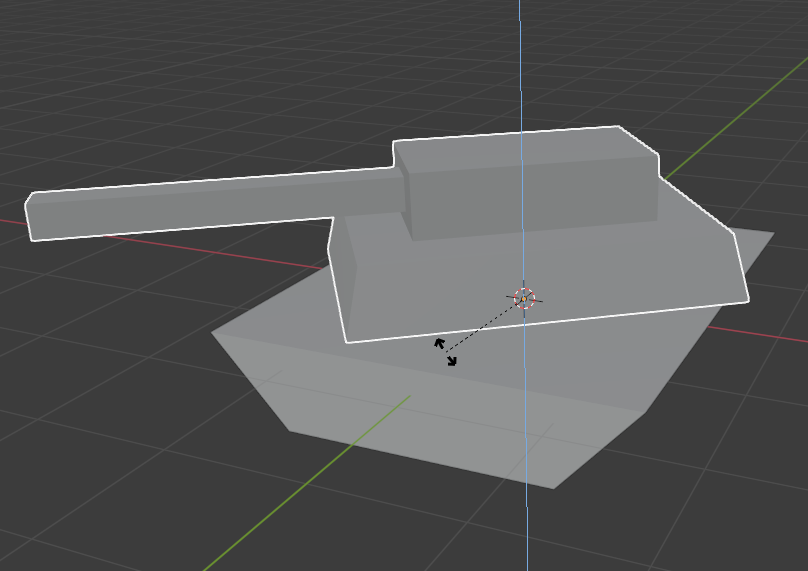
TLDR: Select your mesh (top or bottom), go into edit mode (tab), and hit “Shift + N”. Do that for the top and the bottom parts of the tank.
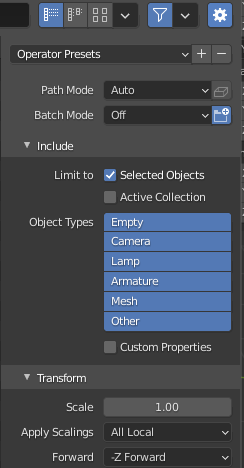
When you open the export window check the box “Selected Objects”:

Name the file and save it somewhere on your machine:
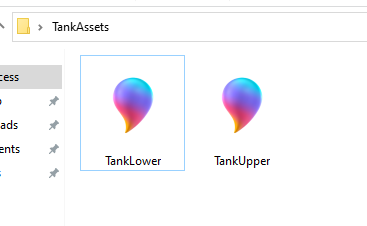
Then, you should be able to drag them into your project like any other asset: